
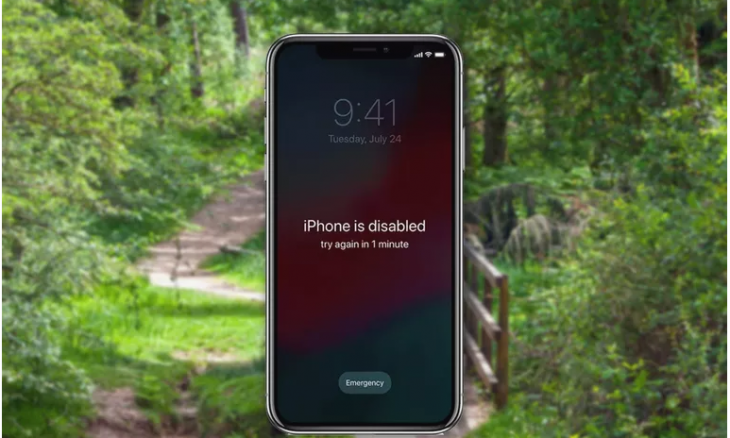
Have you ever been in a situation, when you want to use your phone, but it shows “iPhone is disabled connect to iTunes” error message? Well, you may not have any idea what’s going on? Why you can’t unlock your phone? Getting worried about this awful condition is not at all inadvertent. So what to do next?
In the worst-case scenario, your iPhone can restrict access for 23 million munites! Yes, you heard it right, that is one of the versions of this “iPhone is Disabled” error message. Luckily, we have got your back and came up with remarkably easy fixes to help you out. Hence, without wasting another precious minute, go through our troubleshooting guide. Get your iPhone in the working mode again.
Reasons Behind “iPhone is disabled connect to iTunes” Error
Not only your iPhone but you can see this error message in any of your iOS devices, i.e., iPod touch or iPad. There are different forms of this “iPhone is Disabled” error. Your phone may ask you to try after 1 minute, 5 minutes, 60 minutes, or 23 million minutes. Though you really don’t have to wait for so long to unlock your phone.
However, regardless of the different forms, all of these messages indicate to only one cause- wrong passcodes have been used several times.
A passcode is the security parameter that you need to unlock your phone. When some other person tries to break into your iPhone or keep using wrong passcodes in a row, your phone gets disabled to prevent access.
There are times when you may swipe your screen unknowingly. That can also lead you to “iPhone is disabled, try again in X minutes” error message. Now let’s know about the different time span, you need to wait to unlock your phone.
- 5 wrong passcode entries in a row trigger- “iPhone is disabled, try again in 1 minute“
- 7 incorrect passcode entries show- “iPhone is disabled, try again in 5 minutes“
- 8 different passcode entries in a row cause- “iPhone is disabled, try again in 15 minutes“
- 9 consecutive wrong passcodes entries lead you to- “iPhone is disabled, try again in 60 minutes“
- 10 incorrect passcode entries arise- “iPhone is disabled, connect to iTunes“
More than 10 wrong passcode entries may force you to face 23 million minutes of delay that is equal to almost 44 years of the wait! We know you will need your phone before that, right? None of us can’t even imagine spending that time without our smartphone.
Anyway, whatever the time period is, it’s too hard to wait when you are in need of your phone. So check out the quick fixes to get rid of this error message instantly.
iPhone disabled bypass Process
There are basically 4 ways to get rid of this annoying error message.
- If you have synced your iPhone with iTunes previously, then you can restore it using the same
- In case you have enabled “Find My iPhone” before, then iCloud will be the best option to retrieve it
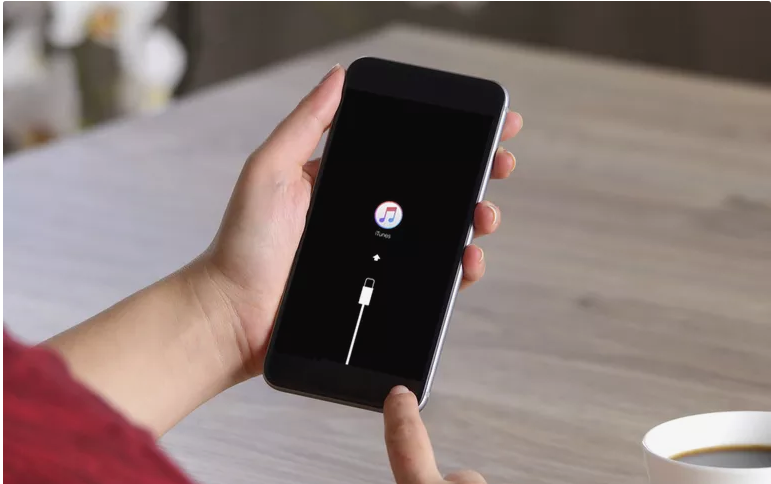
- If you haven’t done both, then you must try Recovery mode
- You can use the DFU mode if each of the above methods fails
Now you are going to have the full scoop of iPhone Disabled Bypass via iTunes or iCloud. Let’s start!
Fix iPhone disabled with iTunes
- First, connect your iPhone with the same system in which you have synchronized data previously
- Next, open the iTunes
- iTunes will now start syncing and backing up your phone
- Once the process is done, click on the iPhone tab
- Go to the right-side panel and click on the “Restore iPhone” option
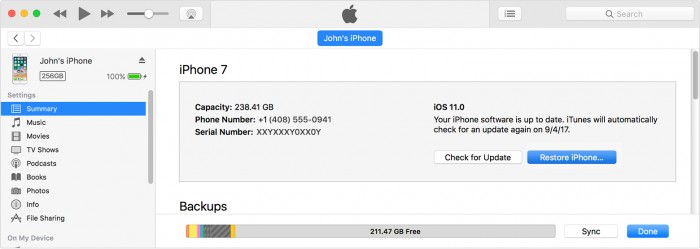
- After that, hit the restore backup in iTunes option and select the latest backup file to retrieve it
- Finally, wait for the process to get finished and access your iPhone without using the passcode.
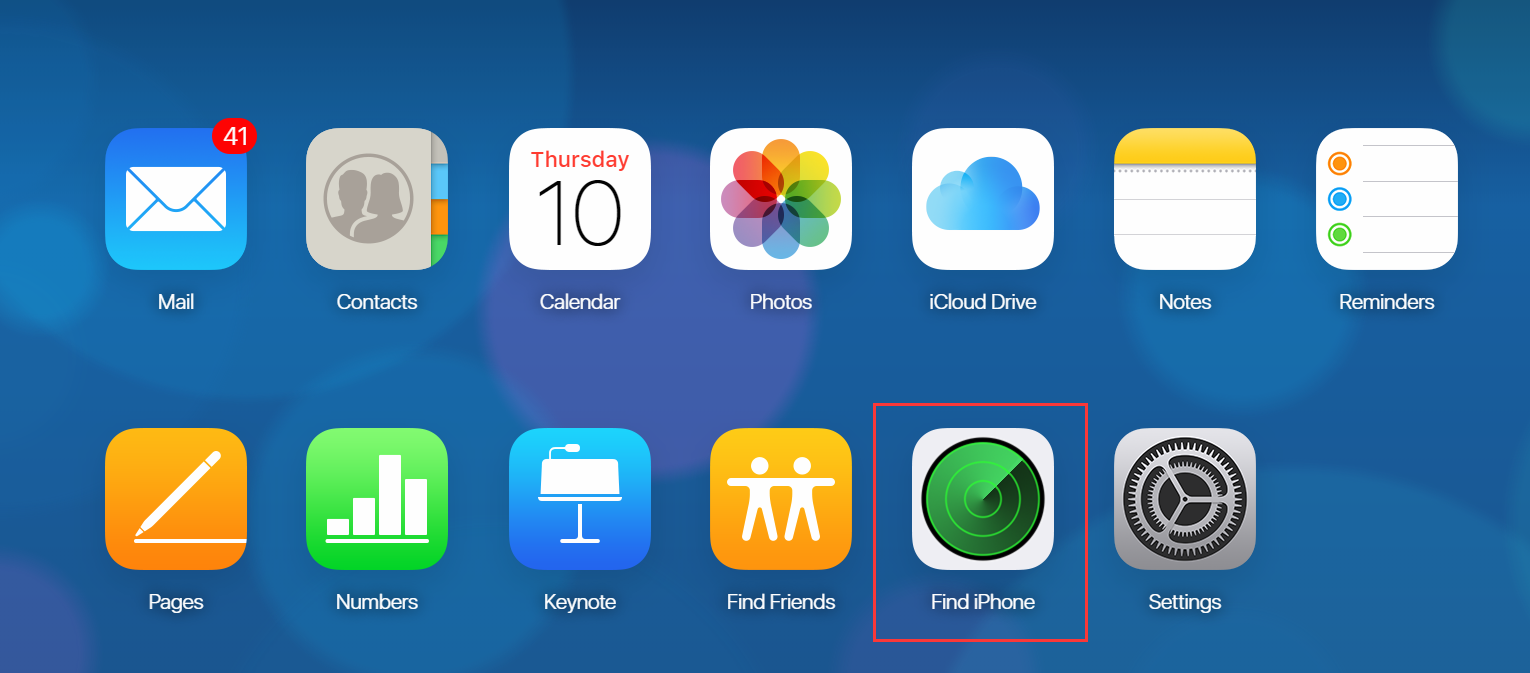
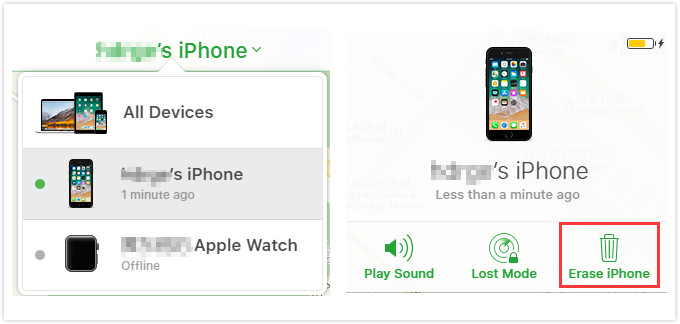
iPhone disabled bypass via iCloud
- At first, visit iCloud.com from your browser
- Now put your login details, i.e., Apple ID and passcode
- Locate the “Find iPhone” option and click on it
- Next, you will see a map which will indicate the exact location of your iPhone
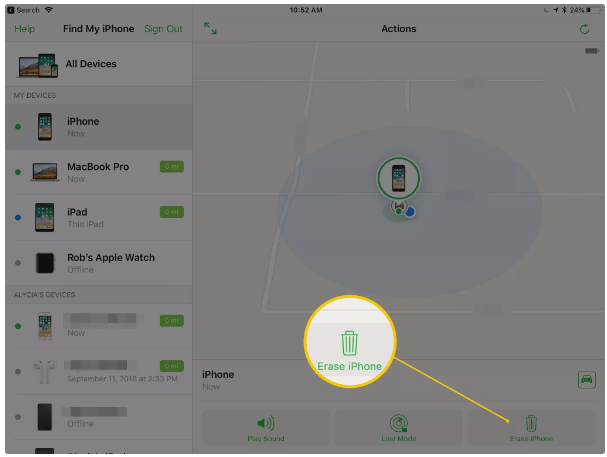
- After that, navigate to the top of the screen and hit the “All Devices” option
- Finally, click on “Erase iPhone” and confirm to get started again
Troubleshoot in Recovery Mode
- First, you have to turn off your iPhone
- Next, get the same system you used previously for taking backup
- The rest of the procedures depend on the model of your iPhone
- iPhone 8 and up– Grab your iPhone and plug in the syncing cable
- Next, press the side button and insert the other end of the cable into your computer at the same time
- iPhone 7 series– Connect the syncing cable with your iPhone first
- Now press the volume down key and put the other end of your cable into your PC at the same time
- iPhone 6S series and earlier– Plug in the syncing cable first
- Next, press the home button and plug the other end of the cable into your system
- iPhone 8 and up– Grab your iPhone and plug in the syncing cable
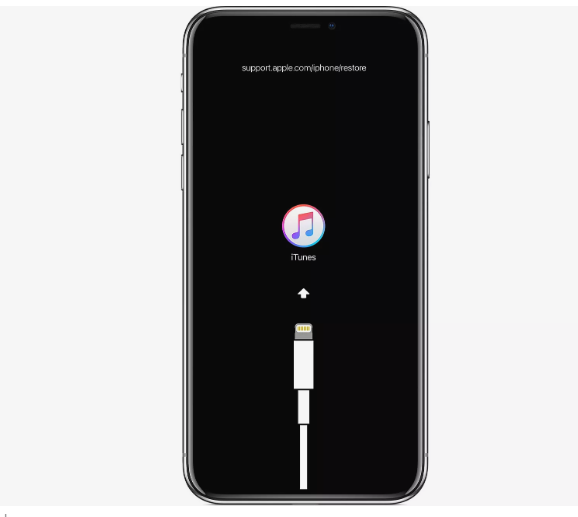
- After that, press the side button, home button or volume down key as per your iPhone’s model until “Connect to iTunes” screen displays
- Once it appears your phone will enter the Recovery Mode
- Now a new tab will pop up in iTunes which will offer you to Update or Restore your iPhone
- Hit the Update option [This option will update the Operating System while keeping your data intact]
- If no pending update is there, break into Recovery mode again and click on Restore option
Once the restore process is done, unplug the USB syncing cable and switch on your phone. Finally, your device will start up without a password. If this process doesn’t fix your issue, you must try entering into DFU mode.
Break into DFU Mode
Entering into Device Firmware Update (DFU) Mode is the last option you have if everything above fails. Follow the below steps to complete the process.
- At first, connect the iPhone to a Computer
- Next turn off your device
- When your device is off, press the sleep or power key and the home button simultaneously. Hold the buttons for a few seconds(around 10 seconds)
[Make sure you are not overdoing it. In case you do, you will enter the recovery mode instead of DFU. If the Apple logo flashes on the screen, then you have entered the Recovery Mode. You have to start the whole process again]
- After the 10 seconds get passed, while holding the home button you will have to leave the power button
- If you find your device screen is black, you have entered in the DFU mode
Finally, your iTunes will recognize your iPhone, and you are ready to start now.
Once done, try unlocking your iPhone once again. Your issue must get fixed now.
Winding up
We know how much it can be annoying when you just can’t access your phone for quite a long time. That’s why we have provided all basic yet effective fixes. Now you should perform all of these troubleshooting steps one by one. If you face any issue in between, just drop your query in the below box.
Adieu, folks!